Retopology Tools
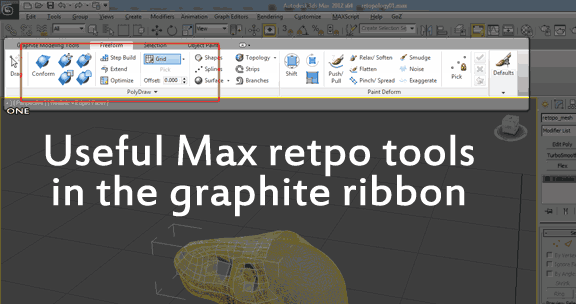
With 3ds Max 2012, users can retopologize a mesh with no additional plugins or scripts. In this article, I'll highlight the best retopology tools in 3ds Max and their uses. The workflow isn't the greatest and, as far as I know, the tools can't be assigned to hotkeys, but they can be used to retopologize a mesh with 3ds Max out of the box. In order to use the retopology tools in 3ds max 2012, you'll need to use the graphite modeling tools in the ribbon. If the ribbon does not appear, you can reveal the ribbon using Customize Menu > Show UI > Show Ribbon.
To retopologize a model in 3ds Max, first, import your high density reference mesh. Then, either start modeling a basic cage which you later conform to the mesh and expand as needed, or start creating polygons directly on the mesh. Both processes are similar. If you want to start by retopologizing directly on your reference mesh, follow the steps below:
Select a mesh to retopologize
Select your reference mesh and convert it to an editable poly if it is not already. Selecting an editable poly gives you access to the tools in the Freeform ribbon.
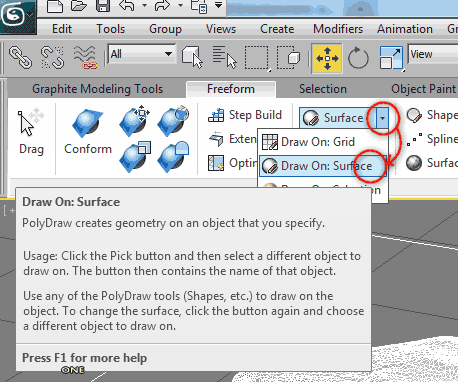
Go to the Freeform ribbon and select Draw On: Surface from the drop down menu in the figure below. Then, click the Pick button and choose a reference mesh to retopologize. Also, add a small offset so that your retopology mesh appears over your reference mesh. I generally use values between 0.02 and 0.2, depending on the size of my model.
Create a new poly object
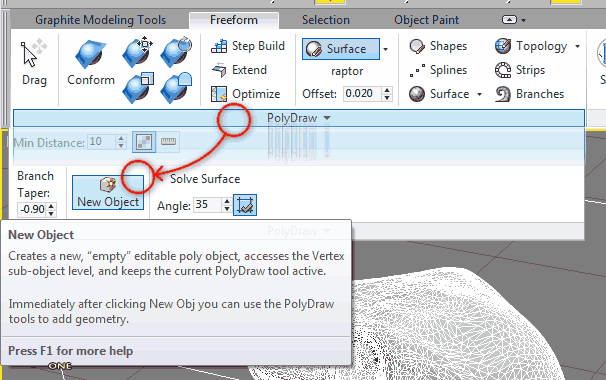
Create a new poly object which will become the retopology mesh. If you have a poly object selected, you can create a new poly object using the Freeform > PolyDraw > New Object button. This creates an empty editable poly object and activates the Vertex sub-object level.
Your first polygon with the Step Build tool
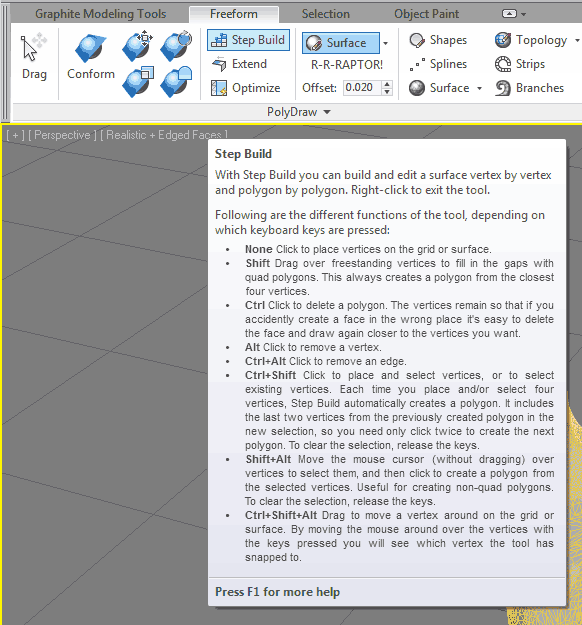
With your reference mesh selected as the Draw On: Surface object, you can start creating polygons directly on the mesh using the Step Build tool. To create your first polygon, hold Ctrl+Shift with the Step Build tool selected, and place 4 vertices. After placing the 4th vertex, the Step Build tool will automatically create a polygon.
As you may notice, the Step Build tool has many options for creating polygons on a surface depending on what keyboard keys (Ctrl, Alt, and Shift) you hold down while clicking the mouse. Try playing around with them.
- None - Left-click with the Step Build tool to place vertices on a grid or surface (depending on whether you have picked a Draw On: Surface).
- Shift - Shift+Click-drag over free vertices to fill gaps with 4 sided polygons.
- Ctrl - Ctrl+Click on a face to remove it without destroying the vertices.
- Alt - Alt+Click on a vertex to remove it.
- Ctrl+Alt -Ctrl+Alt+Click on an edge to remove it.
- Ctrl+Shift - Ctrl+Shift+Click to add (or select) vertices and automatically create quad polygons out of them. To clear your selection, release the keys.
- Shift+Alt - If you hold down Shift+Alt with the Step Build tool active, Max will highlight any vertex you mouse over. When ready, Left-Click to create a polygon based on the highlighted vertices. Useful when you want control over polygon creation or if you want to add non-quad polygons. Be careful that you only select the vertices you want.
- Ctrl+Shift+Alt - holding these keys down while click-dragging on a vertex lets you reposition vertices without changing tools.
Symmetry while retopologizing
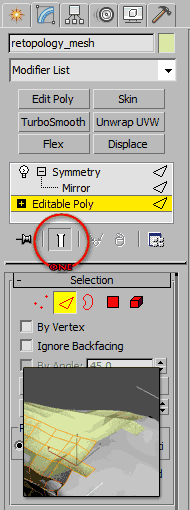
Now that you have a few polygons laid down, you may want to see what's happening with the other side of your model. In 3ds Max, there are a few ways to do this. You can either:A) Mirror an instance of your retopology mesh, or B) add a Symmetry modifier to the stack and enable Show End Result. An advantage to using the Symmetry modifier while retopologizing a mesh is that it can be used to display the retopology wireframe without having to view the messy wireframe on your reference mesh.
The Extend Tool
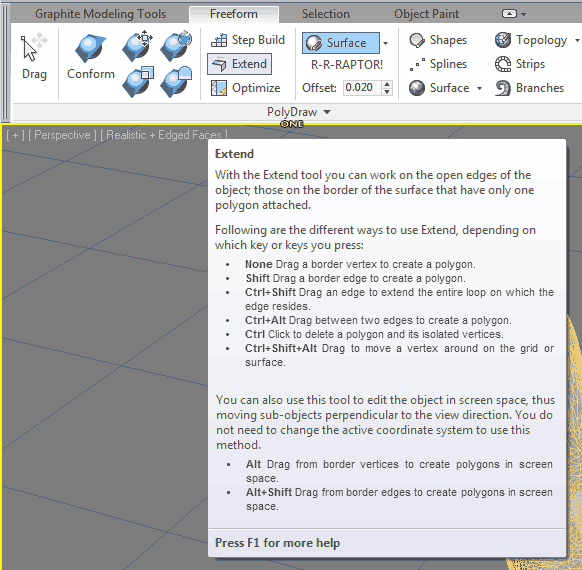
The Extend tool is great for quickly adding to and expanding your new topology.
As with the Step Build tool, there are many keyboard modifiers you can use to adjust how the tool operates.
- None -Very useful, especially near corners. Click and drag a vertex with a free side to create a new polygon.
- Shift - Shift+Click-and-drag on an open edge to extend a quad polygon from that edge.
- Ctrl+Shift - Ctrl+Shift+Click-and-drag an edge to extend the entire loop of an edge. Each time you use this, be sure to check the ends of the loop to make sure they didn't drift too far, or use an orthographic viewport for finer control if needed.
- Ctrl+Alt - Ctrl+Alt+Click-and-drag from one edge to another to create a polygon bridge between the two edges.
- Ctrl - Ctrl+Click to delete a polygon. Unlike the previous tool, isolate vertices will also be removed.
- Ctrl+Shift+Alt - As with the Step Build tool, these modifier keys let you click and drag to move a vertex.
The Conform Brushes
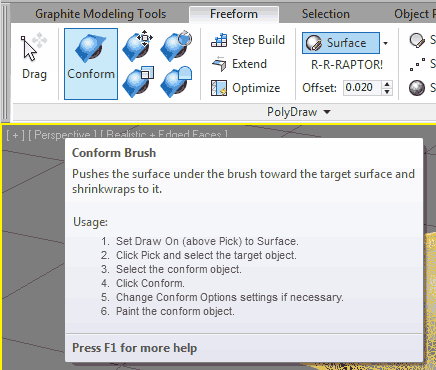
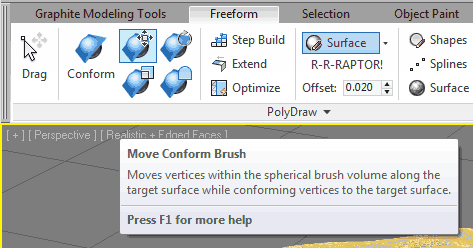
If you've roughed out your topology or want to shrink wrap a primitive to your reference object, eg, a cylinder around an arm, use the new conform brush with a Draw On: Surface object selected to paint one to the other. You can modify the size and shape of each of the Conform brushes using the following modifier keys:
- Shift - drag up/down to adjust the size of the Full Strength.
- Ctrl - drag up/down to adjust the size of the Falloff.
- Shift+Ctrl - drag up/down to adjust both Full Strength and Falloff at the same time.
- Alt - drag up/down to adjust the Conform.
- Alt+Shift - drag up/down to adjust the Strength %
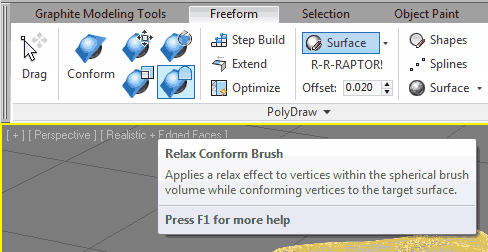
The Relax Conform Brush smooths the topology while keeping it snapped to your Draw On: Surface object.
Additional tools affected by Draw On: Surface
The Shapes, Topology, Splines, Strips, and Surface tools also work with the Draw On: Surface feature. While some of them are useful, I wish the size of the polygons were easier to control. Instead, in order to make the strip sizes larger, you need to adjust the Min Distance via the PolyDraw drawer controlling the Min Distance via the PolyDraw > roller. The downer is that spinning the Min Distance value up and down doesn't provide users with a preview indicating the approximate size polygon created by the selected tool. Otherwise, they can be useful for defining general flow over a model and creating your retopology.
Overall, I felt as though these tools were quite capable when it comes to retopologizing in 3ds Max, but having to click between the various brushes and tools can become a little tedious. The process left me wishing I could use Draw On: Surface with normal poly tools, such as Connect, Cut, and Chamfer, but I was able to completely retopologize the raptor in 3ds Max 2012 with no additional plugins or scripts. For those interested in a toolset that's better suited to retopolgozing meshes, you might consider using Wrap It, 3d-Coat, or Topogun.
